Showing posts with label fifties. Show all posts

Saturday, 27 July 2013

Headscarves and Beehives

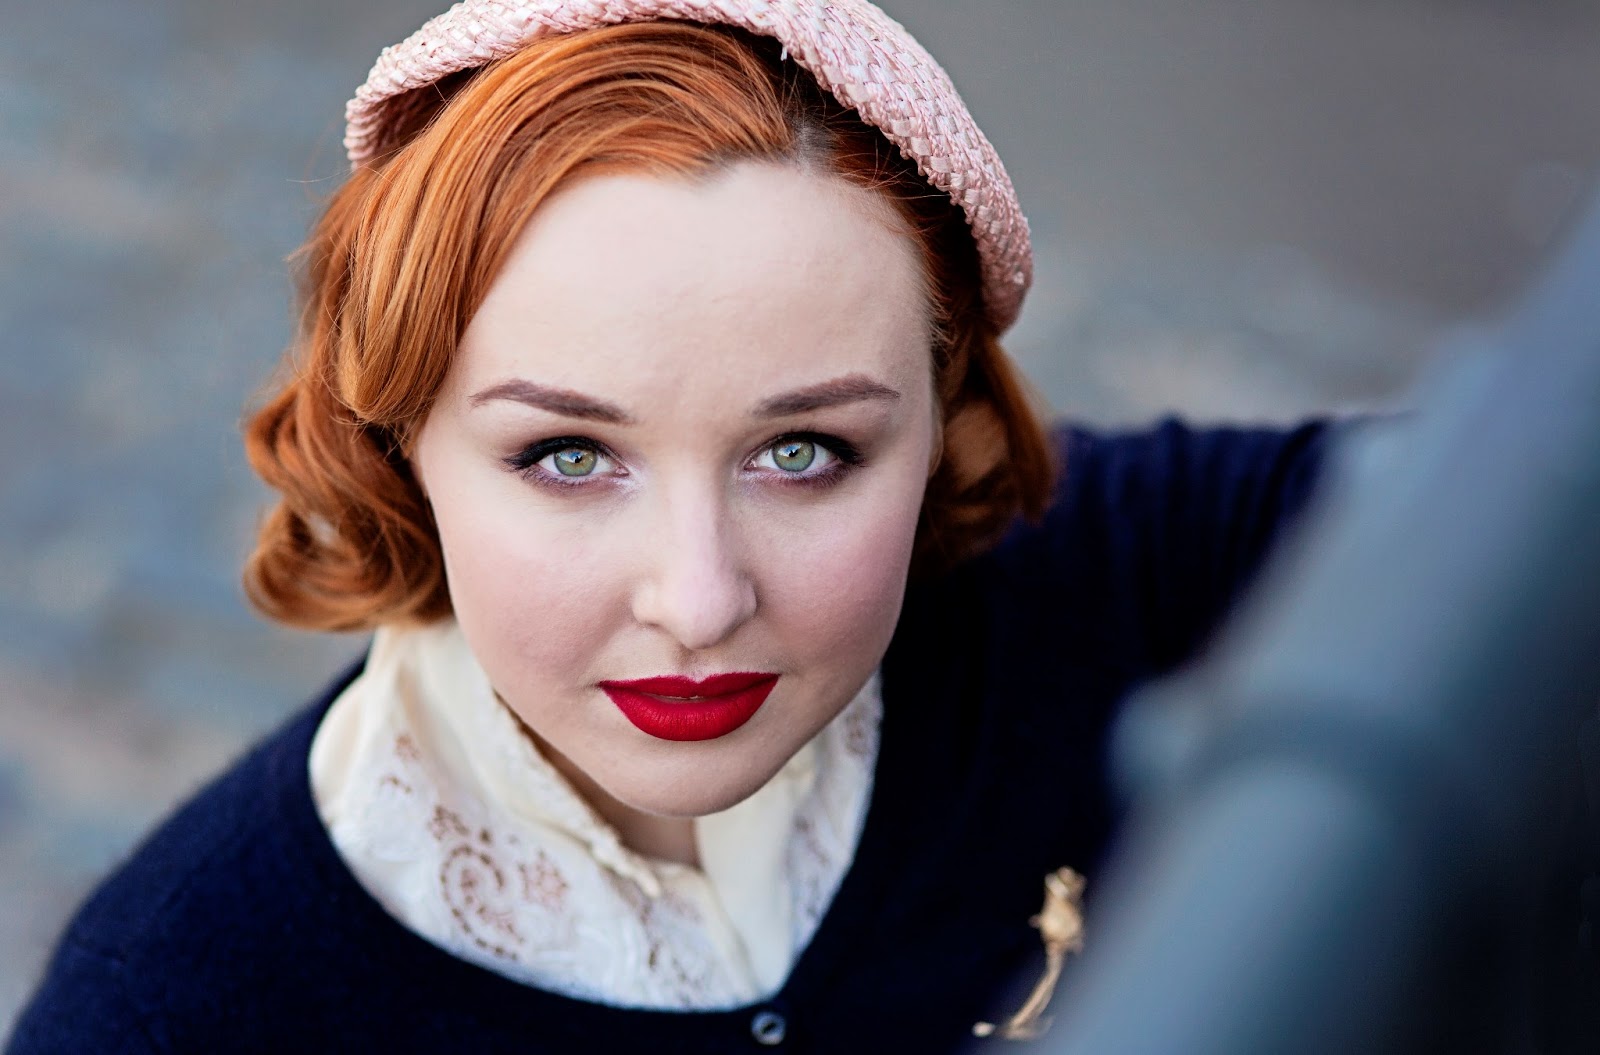
Another addition to the vintage hairstyling posts of late is another easier style to pull together. This is a very frequent look that I wear. It is really easy to do, hides a multitude of grease/freshly washed hair sins and maintains a great fifties look. 


The key to mastering this look is the right amount of beehive, with a small French twist at the back. I scoop my hair into a roll with my right hand, and use my left hand to pin it in place. I tend to do this style in freshly washed hair, as you can just shove as many pins in to hold everything in place and get a days wear ready for a good set. The fringe requires slightly more modern day styling; those faithful curling tongs and plenty of backcombing and hairspray! I then roll the longer fringe bits into a small kiss curl and off I go!
 
I seem to be collecting a lot of headscarves, and buy most from Boo Boo Kitty Couture. They are quite honestly the perfect size, colours and material to get a great look very easily!
 
I recently bought a 1940's hairstyle book and am trying a few of those looks out, keep your eyes peeled for another hair post coming soon!
 
Hannah xxx

Monday, 15 July 2013

Bumper Baby!

Since watching How to Marry a Millionaire, I have been obsessed with everything Betty Grable! From her hair and make up to incredible legs, I have been really inspired by her. I stumbled across this image of her and was struck with inspiration and decided to try a modern replica of this look.


I decided to try a loose set with a more modern bumper bang and headscarf. The standard bumper bang look is widely recreated in vintage circles, but it is a look I have struggled to replicate! I was using a hair doughnut, purchased from Boots and really struggled to catch all of my hair in the roll. A trip to Simon Webster Hair later, and I had it sorted! It seems the doughnut that I was using was far too big and so I wasn't getting as tight of a roll as I needed. They recommended that I buy one of those and cut it in half. The right sized doughnut that I now use is pictured below.


I find that this style works better on greasier hair (as do vintage styles) as the hair has lots more hold. To form the bang, separate the hair like in the picture below. I find it best to stop slightly before you reach the crown to ensure that there is still some volume at the back.

Please excuse my hair fresh out of the set!

Then comes the tricky part. Take the doughnut and roll the hair under, as you would with a long foam roller. It may take a few attempts but hold out to get a great outcome! I ran a slight bit of pomade over the fringe I rolled up to keep any stray hairs in place. There is then a little multi tasking were you need to hold the fringe in place but also secure each end of the roll with a long pin me down grip (click here to see). Once the ends are secure you are free to let go and pin away. To cover the ends of the doughnut, simply slide the hair along and you may need to pin some looser bits down. Once everything is secure, you can gently press on the bang to bring it slightly lower down the face.
 
Add a sweet headscarf or bow for a fun look perfect for the summer days!
 
Ta Da!
 
 
 Good luck, and I would love to see your attempts! Tweet me @ABrightonBelle_!
 
Hannah xxx


Tuesday, 9 July 2013

Vintage Summertime Dressing

My first 'real' summer of dressing completely 'vintage', and I must admit that I am finding it difficult to find an outfit that is suitable! Standard attire on the streets of Brighton seems to be denim shorts and a top which would simply not suffice at all. After months of wearing calf length skirts and dresses, to bare the flesh (or even above my knees!) feels slightly indecent and I opened my wardrobe with trepidation, fully knowing that there was no fifties playsuit hidden at the back but really hoping there was!
 
I was in an outfit quandary. A simple dress feels slightly too dressy for lying on the beach however everything else felt a little to restrictive, formal or just not right. I decided to go for my Gingham Circle skirt, Lace top and trusty Rocket Originals Olivia's. A light circle skirt adds a summery touch, especially in a cute pattern! I long for a novelty print one...

Doesn't Brighton look beautiful!
Skirt: Handmade by Me!
Top: Vintage stall at 1940's event on the Isle of Wight
Bag: Vintage
Shoes: Rocket Originals
Belt: Oasis
 
I have also taken to jumping on that flowery bandwagon by adding some small floral accessories into my hair! I picked up this little rose really cheaply from a local fabric shop and love how the grey flower and green leaf contrast against my hair. A little experimention with my fringe and I quickly managed to add a little victory roll/kiss curl amalgamation to sweep my hair away from my face.
 
 
I would love to hear what you have been choosing for your vintage summertime outfits,
 
Happy sunbathing and don't forget your suncream!
 
Hannah xxx

Friday, 21 June 2013

Two's Company

It's been a while since I did a photoshoot, but as the weather has (slowly) improved, I have suddenly had quite a few!
 
First on the list was a sunny Saturday evening around Shoreditch and Brick Lane. How trendy. Normally it is just me in front of the camera, however this time I was joined by my usually camera shy boyfriend, for a tatts and vintage inspired shoot! Beware- this is quite a picture heavy post!


The above photos are by Steve Mannell Photography and below by Rob Grimes Photography, two brilliant photographers that put us at ease and got some shots I love!


Top: Vintage from Wolf&Gypsy
Skirt: Vintage
Cardigan: H&M
Shoes: Rocket Originals
Hat: Vintage
 
Hannah xxx


Thursday, 13 June 2013

Homeward Bound

So long surrounded by dress, suit or shoe inspiration, my desire to have a bedroom reflecting my love of vintage sometimes gets put on the backburner. Continuously visiting flea markets, vintage fairs and charity shops definitely has it perks and every now and then, I snap up a bargain for 'my dream bedroom'. It then ends up sat in the cupboard...how sad.

Whilst my dreams feature an old hospital steel framed bed, Utility Wardrobe and fifties dressing table, I will have to settle with some pretty pictures, mirrors and bed linen for now. I have been wracking my brains for crafty, cheap and creative ways to revamp my bedroom and I think it could be instantly improved by some of my following ideas...
 
  • I have a plan to make a duvet cover and pillow case for myself with some beautiful fabric. A thrifty option is to make is reversible, perhaps atomic on one side and a ditzy floral pattern on the other?! An even cheaper option is to just make the panel in the middle with the expensive fabric. I have been admiring the fabrics on 20th Century Cloth and Sanderson.
 
 
atomicblonde_sample
 
  • Another option is to make some cushions. I love the idea of a simple cushion like in the picture below, with a beautiful forties, dress making pattern esque lady on one, and slick male dreamboat on the other! The bobbles around the outside are so cute. I am tempted to purchase from lovely Brighton based designer, Lisa of Foxy Flamingo who makes beautiful cushions!
 
guest
...Sigh!
 
  • I love the idea of using a retro drinks tray or serving tray as a way to store my perfume, rings and bits and bobs. A quick look on Ebay reveals many suitable trays!
 
  • A vintage vanity case or suitcase can be easily picked up in charity shops or flea markets and would be an ideal way to store hats, stockings, gloves and more goodies!
  • I currently store my headscarves and scarfs in a tall glass. This was picked up from Snoopers Paradise in Kensington Gardens for about £10, and is an efficient and pretty way to store and display your finery! Another option is the tall glass sweet jars!
 
I am busy trying to hunt down trinkets for my new display cabinet, which you can see above. I plan to display my hats in there along with hopefully lots of fabulous finds.

I would love to hear about any of your vintage finds perfect for furnishing your bedroom! Please inspire me more, and maybe I will brave a picture when the transformation is complete.
 
Hannah xxx

Friday, 19 April 2013

A Classic Eyeshadow Guide

Creating the perfect 1950's eye make up comes from a little more than a flick of eyeliner and mascara. I really do believe in the power of establishing a perfectly contoured base so that the eyeliner really pops and perfects the look.
 
Whilst Marilyn went for a very dramatic sweep of eyeshadow to create her iconic look, I want to show you how to create the basis of your eye make up that is good enough for your everyday vintage look. It can then be built up for a more glamorous or evening occasion.

L-R MAC Pro Longwear in Always Sunny, MAC Phloof!, MAC Sable and MAC Satin Taupe
My general go-to shades from these eyeshadows are MAC Phloof! and MAC Satin Taupe. This is a great combination for everyone to use as they are both rich, pigmented shades that can be built up to the intensity you want. As a green eyed girl, I use certain colours to enhance my eyes, for instance MAC Pro Longwear in Always Sunny and the slightly more copper shaded brown, MAC Sable.
 
I use Satin Taupe to define the eye socket and eye lid which adds definition and enhances your features. You can use whichever colour you like to define the socket, however darker shades are best. Browns, purples, berry and dark greens can all be used depending on your intended look and then we use a rich, pigmented, lighter shade to highlight and bring out your eyes.
 
I use the two brushes in the picture above. The bigger, angled MAC brush is actually one I got from Ebay believing it to be the MAC 275 medium angled shading brush. It turns out it's actually a fake but it does the job for me! The other smaller, purple brush is the Real Techniques Shading Brush.


I always begin with defining the browbone with the darker shade (satin taupe) in the position like above. I look straight ahead into the compact mirror and define exactly where the crease is. This acts as a marker and is the best way to tell where needs defining more.


By then looking down into your compact mirror, you are able to blend the original mark and add any extra definition to the crease. Going between these two positions enables you to make sure you have clearly defined all areas and really added some depth into the crease. I then take it slightly higher up the eye socket and over the lid, by simply using any excess left on the brush. This can be seen below.


The next step is adding the highlighting lighter shadow (phloof!) to the inner corner of the eye, like in the picture above. Simply begin at the tear duct and gently blend this into the darker eyeshadow, stopping around 1/3 of the way into the eyelid. I also add a small amount to just beneath the tear duct to really emphasize the eyes! I also add some extra of the darker shadow to the bottom eyelid on the outer corner. After a bit of practice, you can then use your angled brush to give a very subtle flicked out look, simply by using eyeshadow.
 
As with all make up looks, the best way to achieve a consistently fabulous look is practice, practice, practice! I squeeze in most of my practice by testing my technique for my work make up...after a while you look brilliant for work and have a failsafe method that will work every time.
 
I hope this is helpful!
 
Lots of love,
 
Hannah xxx

Saturday, 9 March 2013

Strike a Pose!

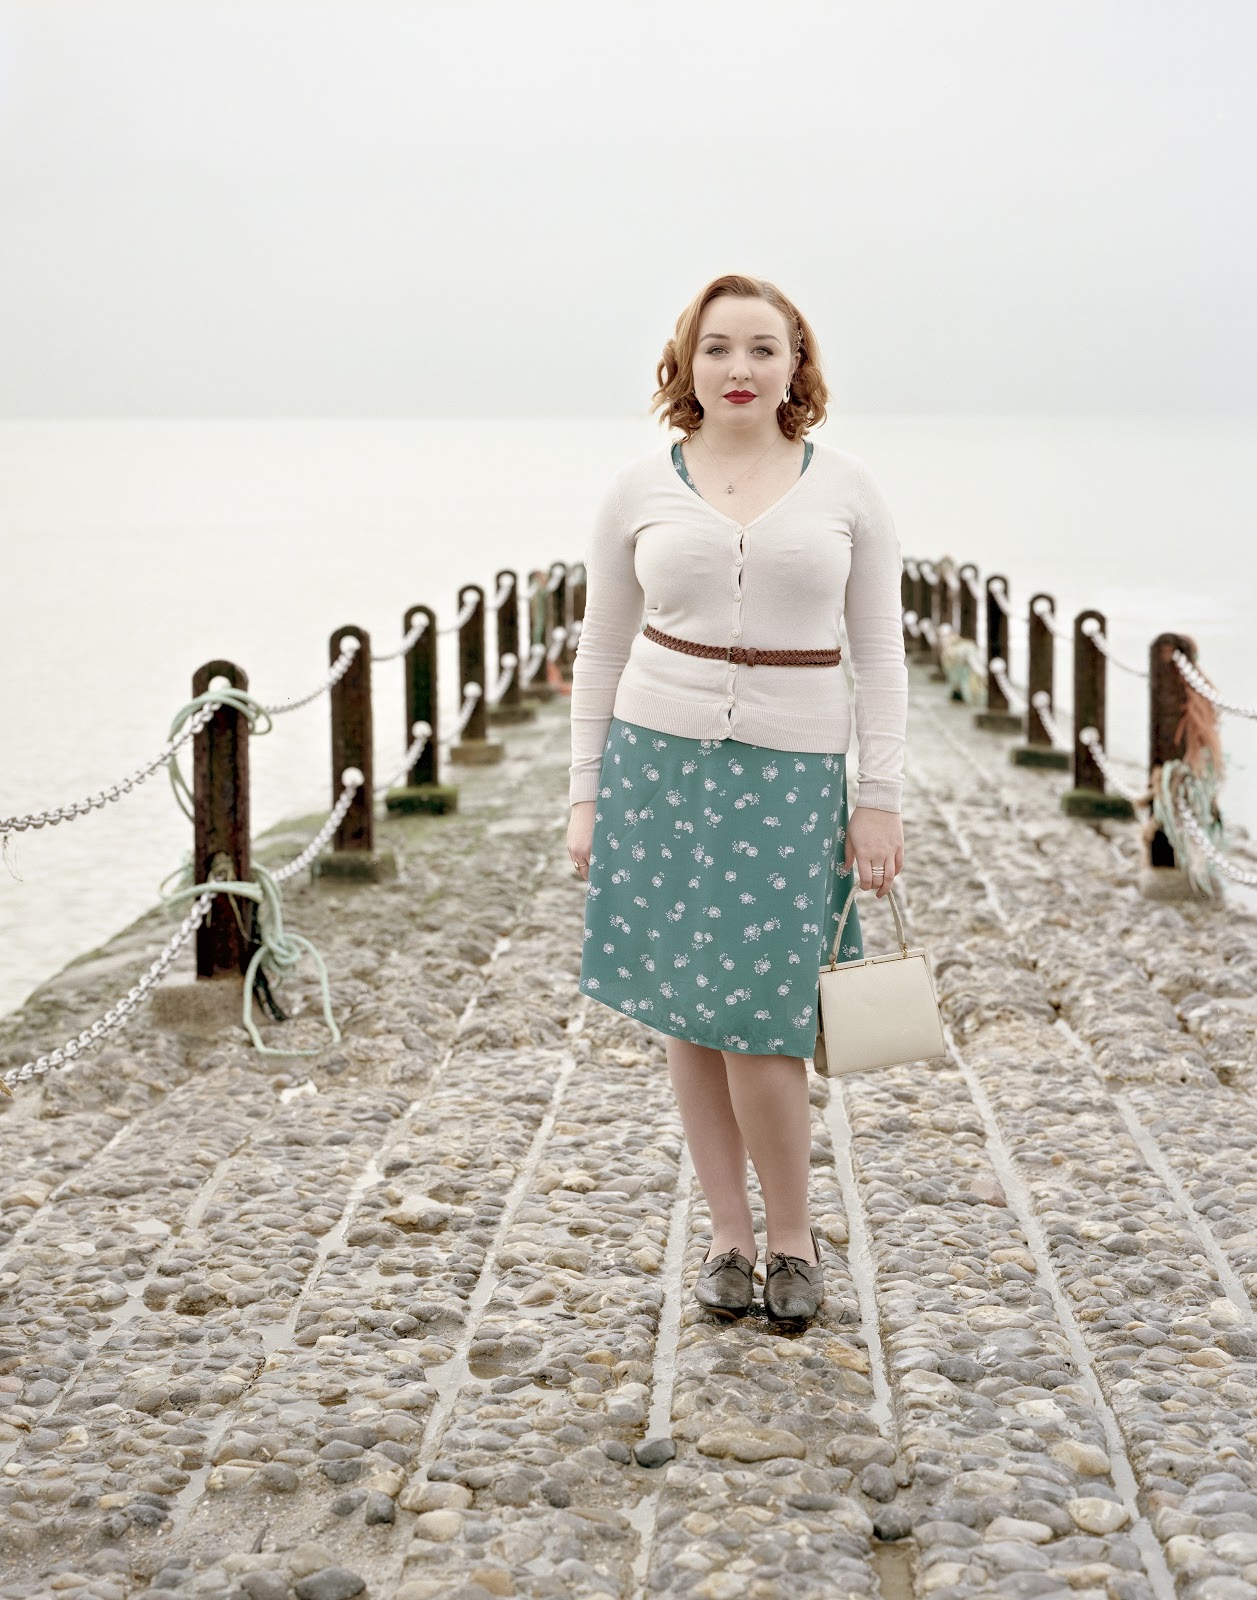
March began with an early morning photoshoot upon a jetty near Hove Beach Huts with Toby Key. It was a wonderful (if a little chilly) morning, but it felt incredibly special to be shot with an original vintage camera. It required me to be very still, not easy for a fidget like me! He is putting together a photographic documentary of Vintage Girls, and I felt honoured to be asked as I will feauture amongst some incredible vintage beauties such as Fleur de Guerre!

The documentary features very much on your own individual take on 'Vintage' and what it means to you. I chose a classic tea dress with a cardigan and thin waist belt to give an everyday 1940's look. This was paired with seamed stockings, my favourite vintage brogues and small vintage handbag. I adore the simple,understated style that was seen in the forties and thought it would be nice to show that side of vintage life, rather than the more typically 'done up' look of the fifties.
 
Please check out Toby's website, www.tobiaskey.com. On the 'commercial' section, you can view his Vintage Girls.


My Jewellery (I used the leaf brooch as a hair slide)
 
 
I would love to hear what you think!
 
Lots of love,
 
Hannah xxx