Got quite a few blog posts to do today, I've had a very busy week! My birthday was on Saturday, and I had a vintage themed party. I decided to decorate my flat to get it looking a lot more retro so the sewing machine got dragged out!
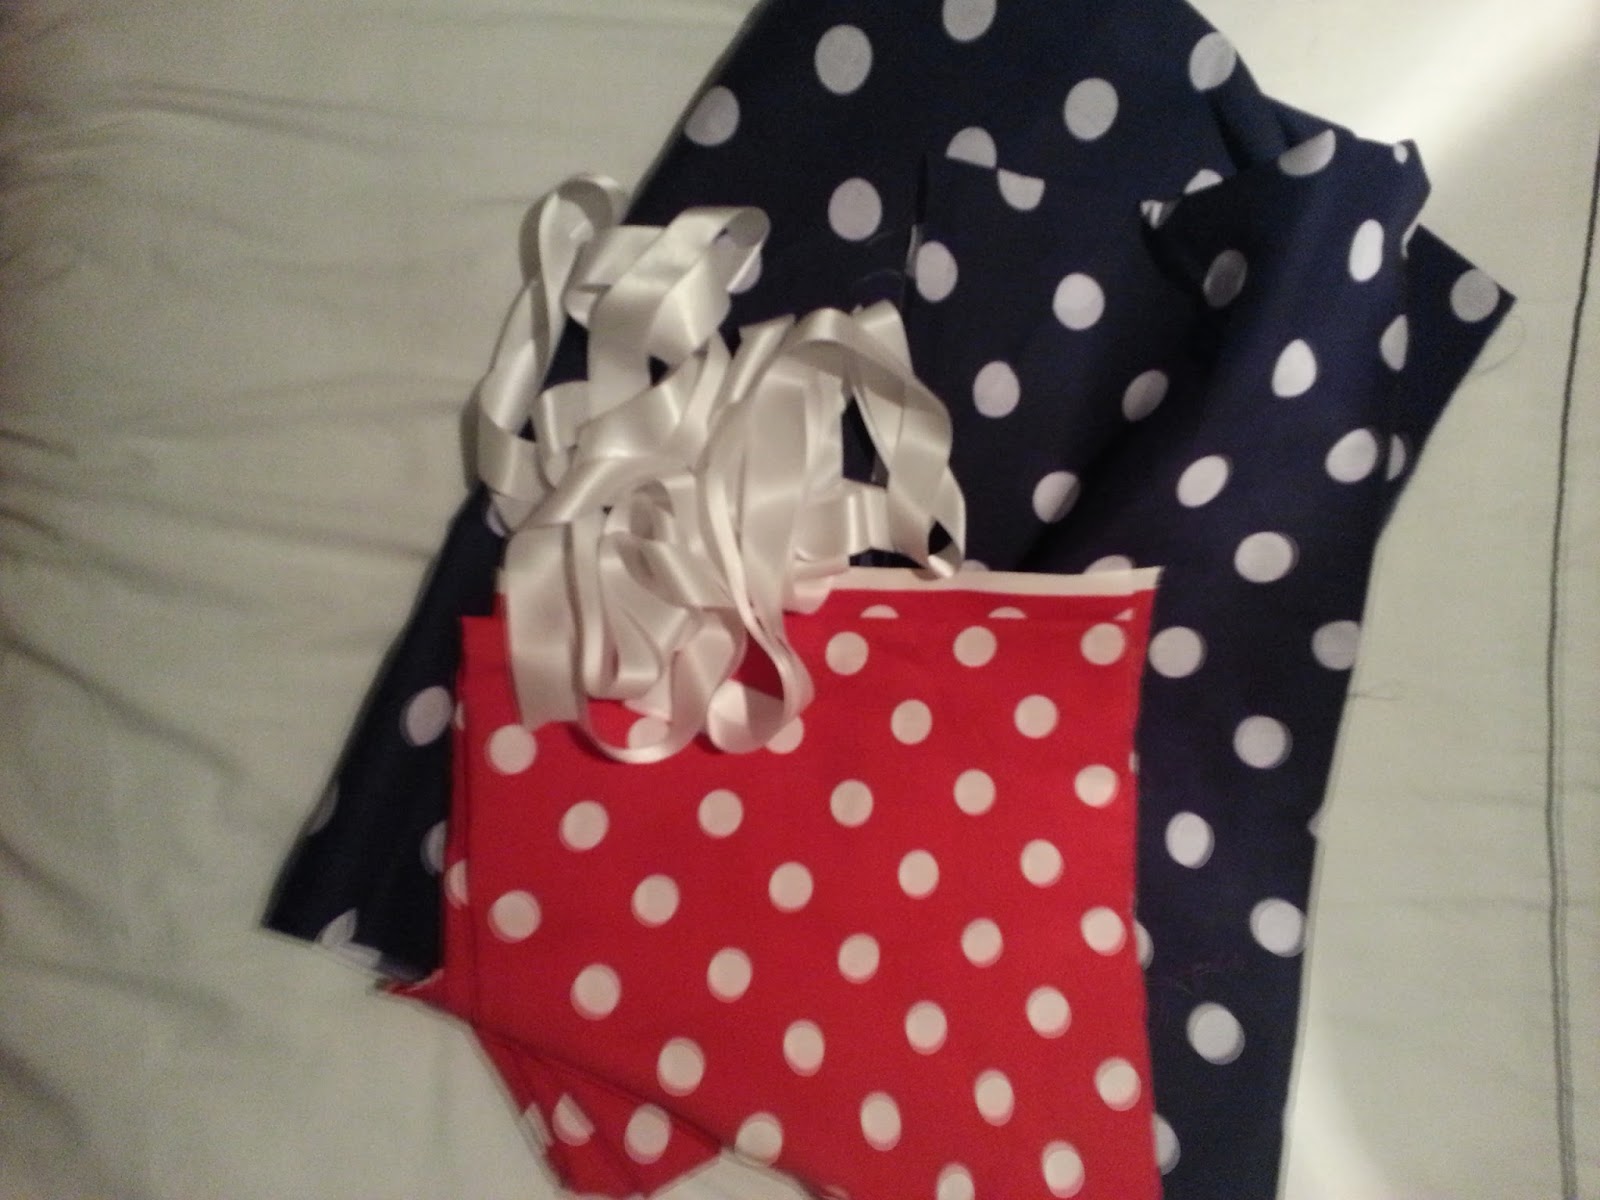
I used 5 metres of white ribbon, a metre square of red polka dot fabric and a metre square of blue polka dot fabric. This came to £7 which I thought was very reasonable considering the price of bad quality bunting for sale in the shops. It actually turned out I had too much fabric too. I would say maybe around 75cm square would have been better.
Firstly I made a template on some card of the triangle for the flags. It is 15cm across the top and 20cm down to the point.
Then measure 40cm depth into your fabric from the edge and cut to create a rectangle. Fold in half with the underside facing outwards (so we draw the template onto the messy side of the fabric). This means that you get two flags from cutting out one template. Before drawing the template on, iron the rectange to create a fold that is exactly 20cm into your strip of fabric.

Using a black marker pen, place your template onto your strip of fabric with the 15cm top against the long side of the rectangle. Draw on, making sure that it finishes in a point at the other end. Once these are all drawn on, cut them out! I ordered mine into piles of red and blue polka dots.
Time to get sewing! I chose quite wide ribbon which I folded in half over the top of the flag. This creates a little pocket that you slot the flag into, so it is sandwiched between the two halves of ribbon. I just did a single stich and one fingers space between each flag.

Hello!

And here is my end result!

Have any of you ever made bunting?! I think I would like to leave it up permanently, it looks pretty!
Hannah xxx
No comments:
Post a Comment
I would love to know what you think! I will try to answer any questions as soon as possible. Hannah x